Using one computer as a server, install MaxProxy software on the computer. Install NoxPlayer emulator or a similar app on an Android phone, tablet, or NoxPlayer emulator device. This tutorial applies to any app that supports importing IP addresses using the HTTP or SOCKS5 protocol. Download v2rayNG for Android: https://github.com/2dust/v2rayNG/releases When using MaxProxy to proxy IP addresses, the NoxPlayer emulator must be on the same local network as the computer, which means they should be connected to the same Wi-Fi network of the router (it is recommended to disable the computer’s firewall). When using the direct IP information retrieval mode, you can also use it without being connected to the local Wi-Fi network by copying the MaxProxy proxy IP information or scanning the QR code.
I. Direct IP information retrieval method: Dynamic IP proxy extraction tutorial: https://www.maxproxy.com/blog-cn/tutorial/dynamic-ip-proxy#4-toc-title
Static IP proxy extraction tutorial: https://www.maxproxy.com/blog-cn/tutorial/static-ip-proxy#4-toc-title
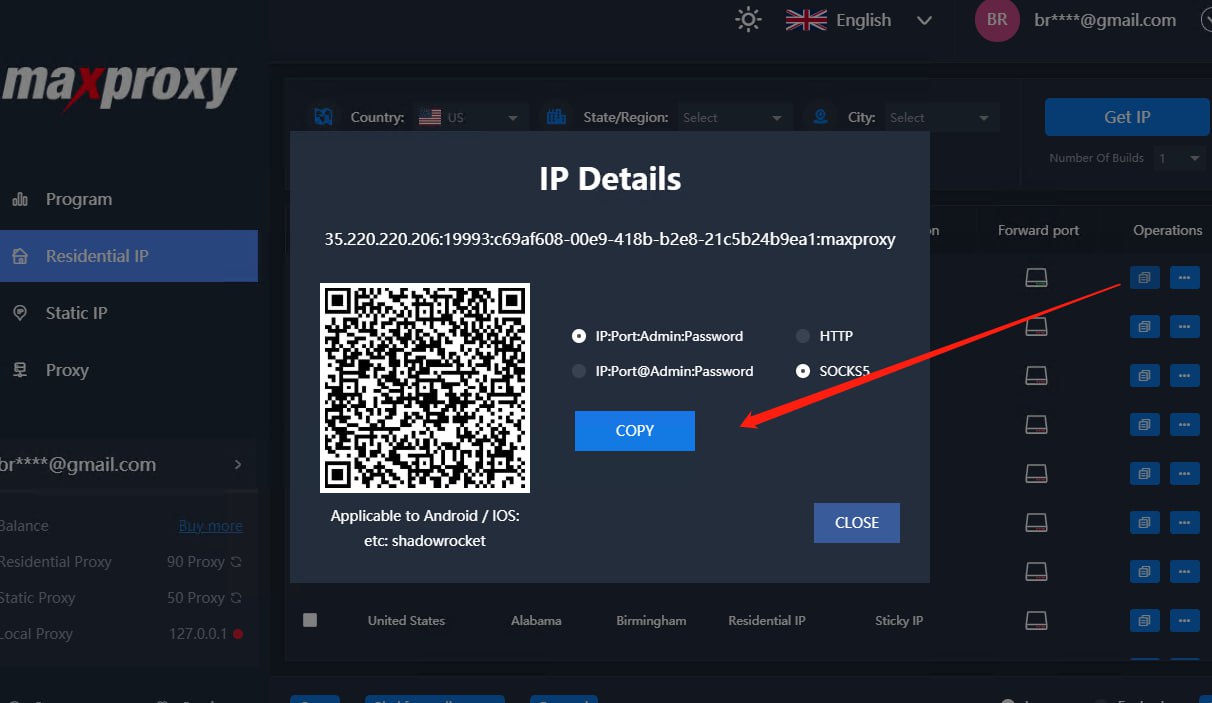
Step 1. QR code configuration method: Step 1: Obtain a MaxProxy proxy IP and open the QR code.

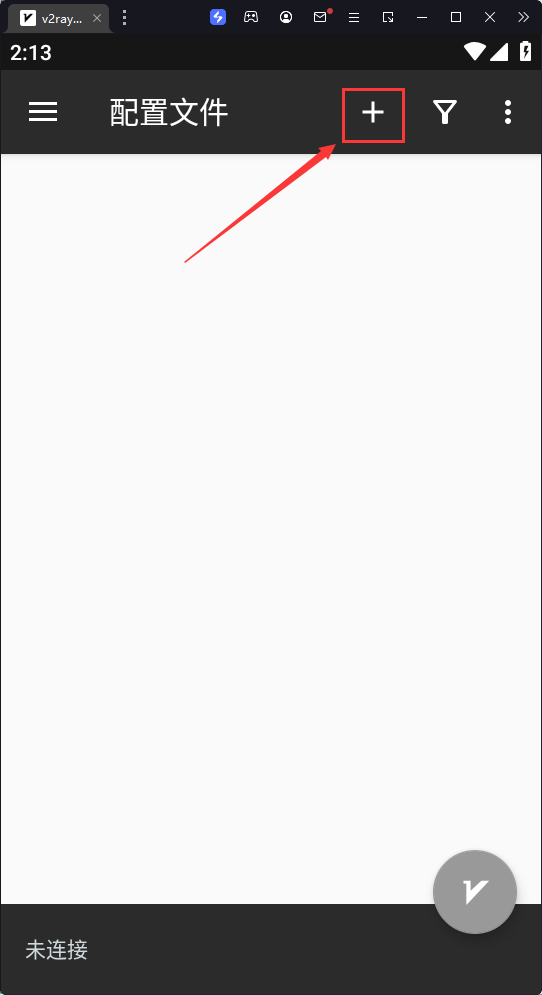
Step 2: In NoxPlayer emulator, click the plus sign “+” #

Step 3: Select “Scan QR Code” #

Step 4: Open the camera
- If v2rayNG is installed in an Android emulator: Click on “Real-time Screen Capture.”
- If v2rayNG is installed on an Android phone: Click on “Enable Camera.”

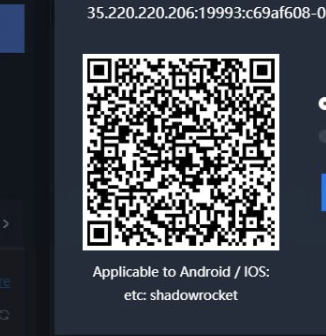
Step 5: Scan the QR code of the MaxProxy proxy IP.

Step 6: Select a preconfigured profile and enable the proxy button. #

2. Directly copy the proxy IP information method:
Step 1: Copy the proxy IP.

Step 2: Click the plus sign “+” in v2rayNG.

Step 3: Select “Manual input [Socks].”

Step 4: Enter the MaxProxy proxy IP information in the corresponding fields.

Step 5: Select a preconfigured profile and enable the proxy button.

II. Port forwarding configuration method: Install v2rayNG or a similar app on an Android phone, tablet, or Android virtual machine device.
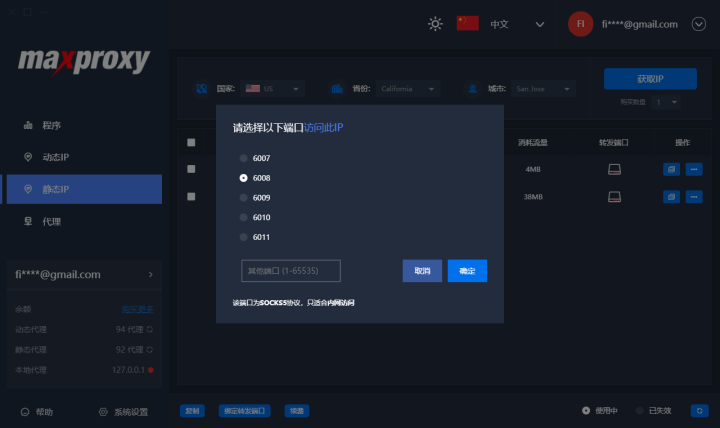
Step 1: In MaxProxy, assign the obtained IP to the corresponding port number. Using the method of multi-port forwarding: https://www.maxproxy.com/blog-cn/tutorial/port-forwarding

Step 2: Click the plus sign “+” in v2rayNG.

Step 3: Select “Manual input [Socks].”
Step 4: Enter the MaxProxy proxy IP information in the corresponding fields.
Step 5: Select a preconfigured profile and enable the proxy button.
Step 6: Configuration successful.
If you need any assistance, please feel free to contact us at: https://www.maxproxy.com/en/contact-us


